
You can add your own PDF to Acadeva, and other students can then find it in the catalogue. There is no form to fill in. You choose the file, Acadeva reads it, and the book is created for you.
An uploaded book becomes a public book. Other students can find it and open it, and there is no review step before it appears. Only upload material you’re allowed to share, such as your own notes or papers you have permission to pass on.
Before you start
- A PDF. The phone only lets you choose a PDF. The desktop picker also lists Word, PowerPoint and image files, but a PDF is the safe choice.
- 1,000 pages or fewer. A longer file is turned down.
- A book Acadeva doesn’t have yet. Acadeva compares your file with the books it already has, so an identical copy isn’t added twice.
- An internet connection. The file is sent to Acadeva while it uploads.
What Acadeva fills in for you
After the upload, Acadeva reads the PDF and writes the title, a short description and the subject. It adds the course code and level where it can find them, and it makes a cover. The title usually isn’t your file name. You can’t set any of this before you upload, but you can rename the book afterwards.
Upload a book
Open the You tab and tap Upload books. The Uploaded books screen lists every book you have uploaded.
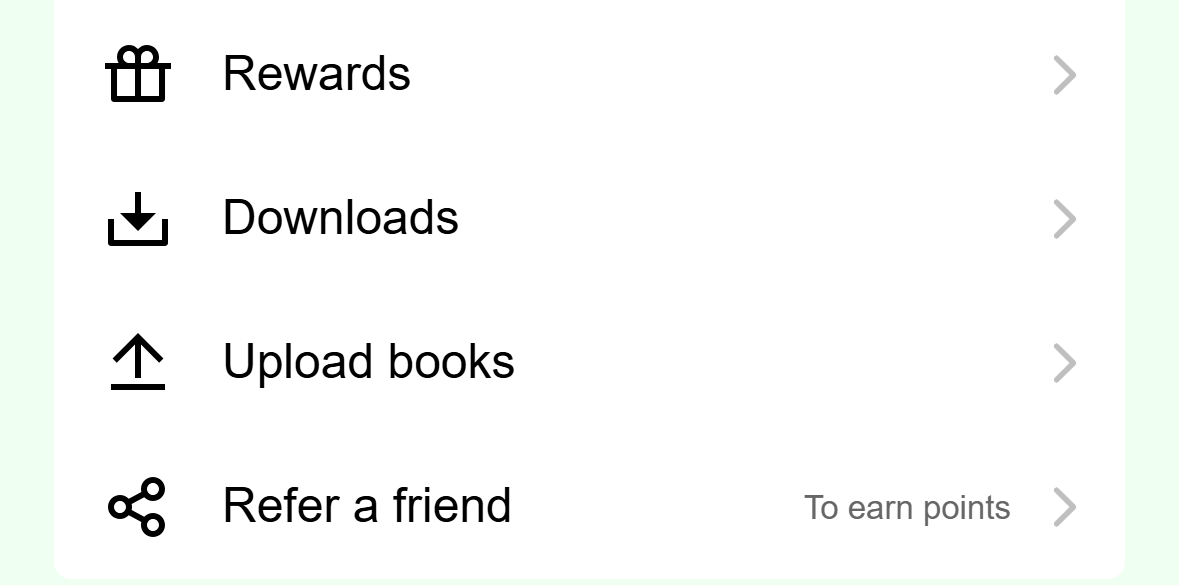
- Tap Upload books.
Mobile: Upload books is on the You tab, between Downloads and Refer a friend. Tap the + button at the bottom right.
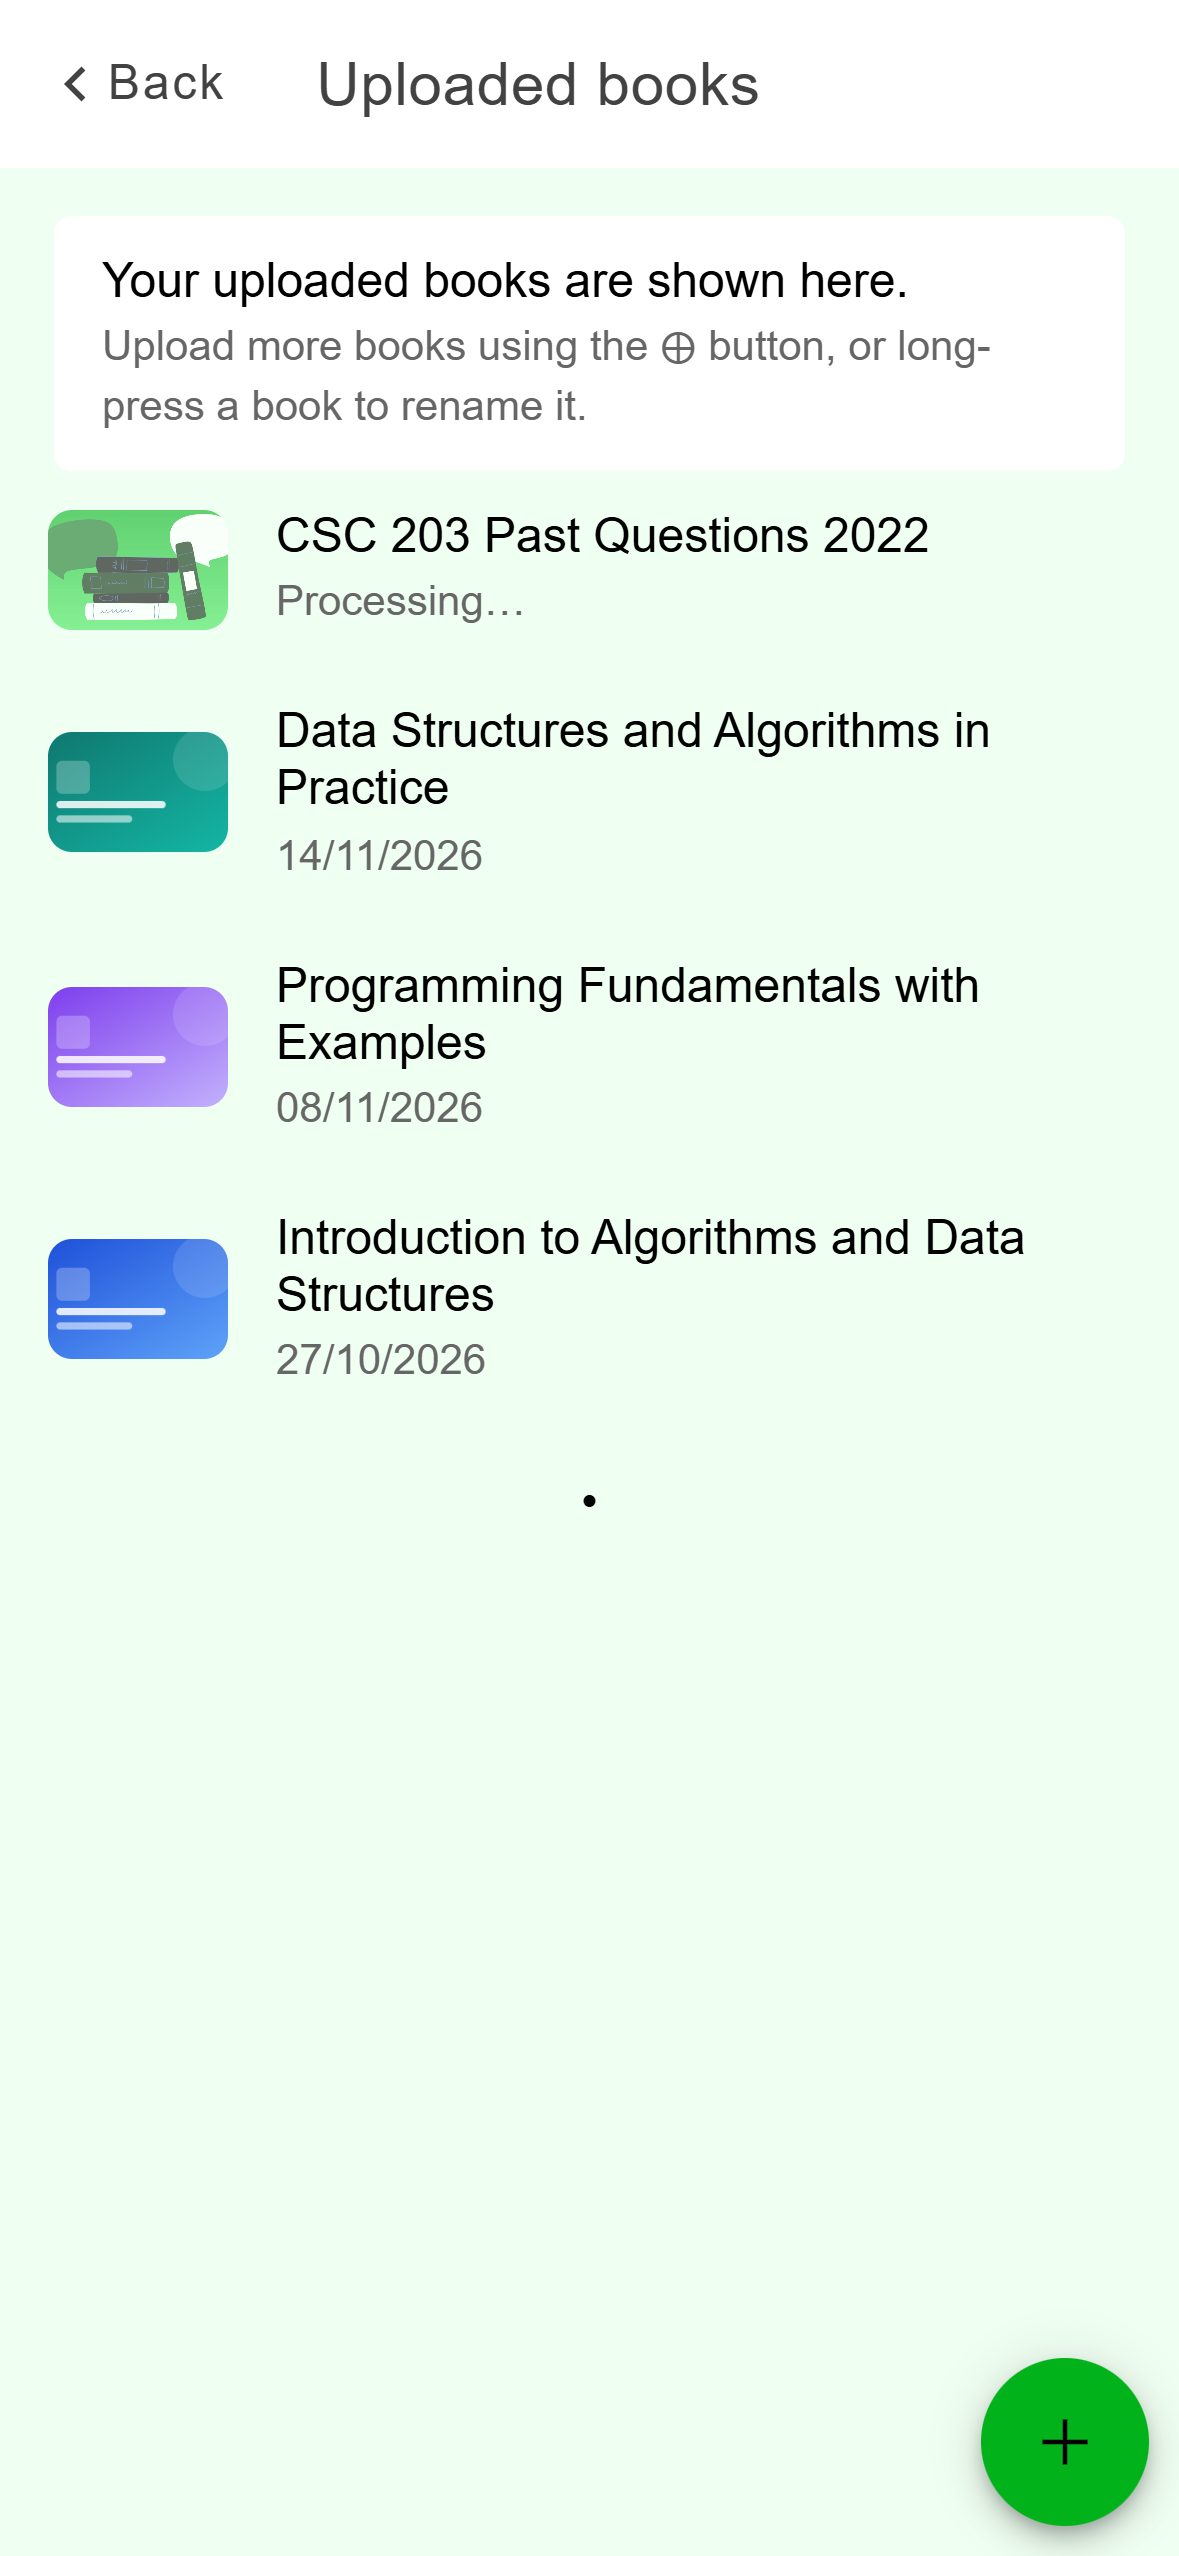
- Tap the + button to add a book.
- A book still being read shows Processing…
Mobile: The Uploaded books screen. A new upload shows here as Processing until Acadeva has read it. On Upload a book, tap Choose a file and pick a PDF. The upload starts as soon as you pick it. There is no separate upload button.
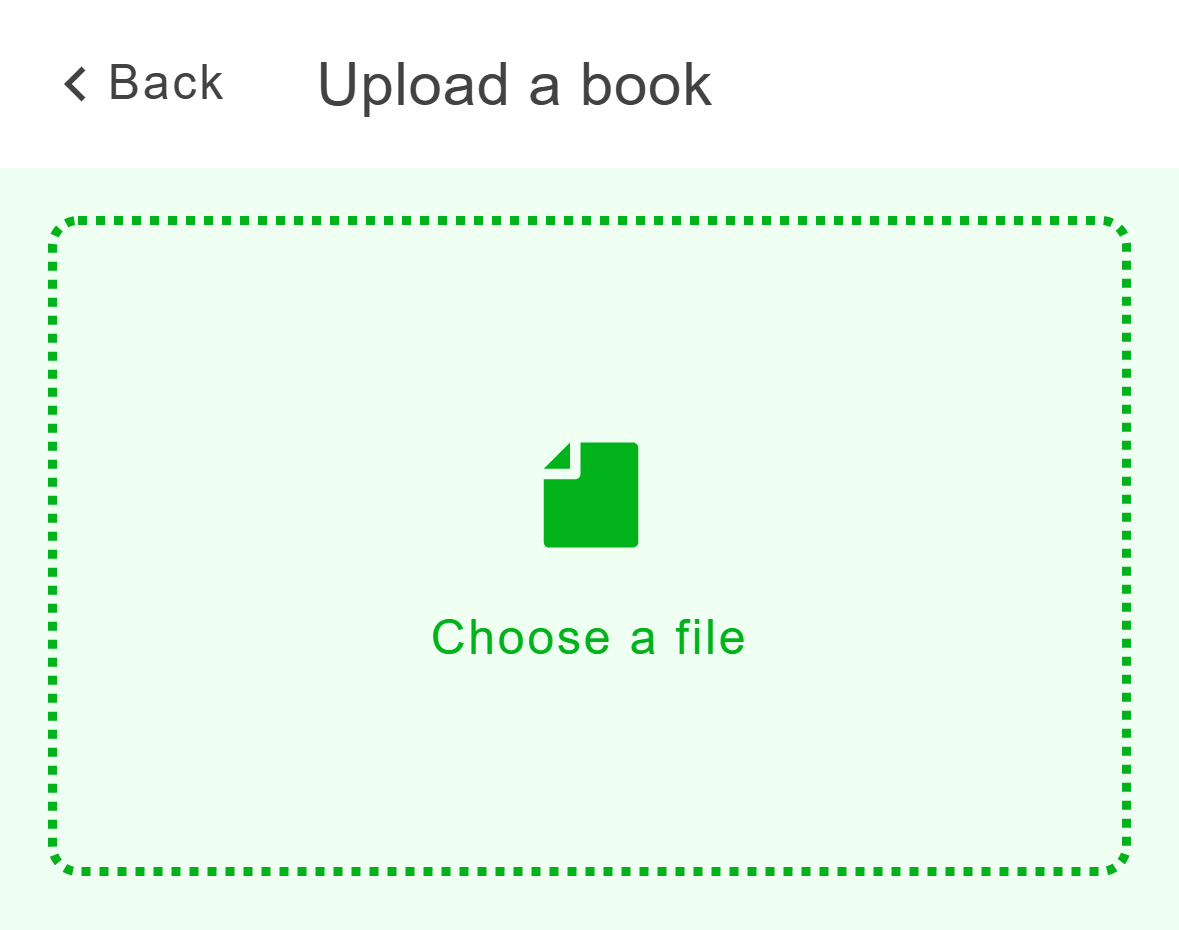
- Tap here to open your file picker.
Mobile: Tap Choose a file and pick a PDF from your phone. Wait on this screen. You see the file name and size, then short messages while Acadeva checks the file. Tap Cancel to stop.
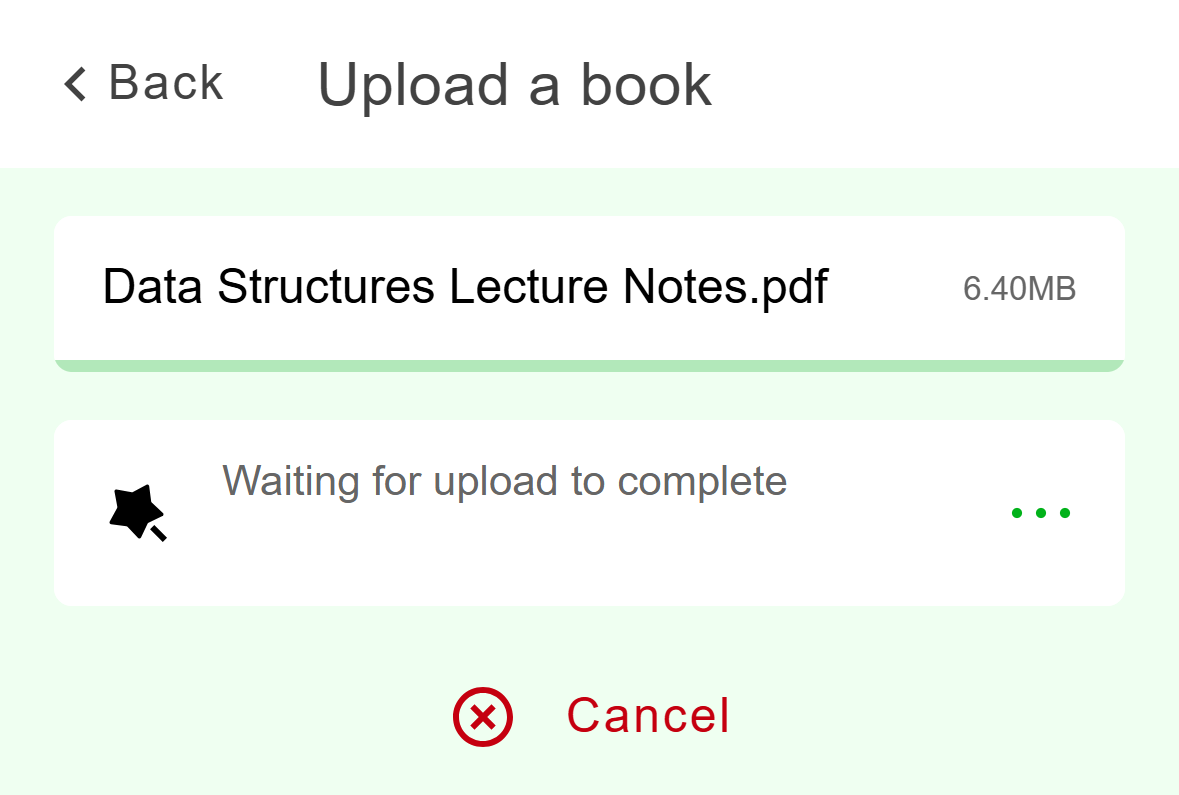
- Cancel stops the upload.
Mobile: The upload in progress. When you see Book uploaded successfully, tap Back to my books. The book shows as Processing… until Acadeva has read it. The screen says this usually takes about a minute, and you get a notification when it’s done.
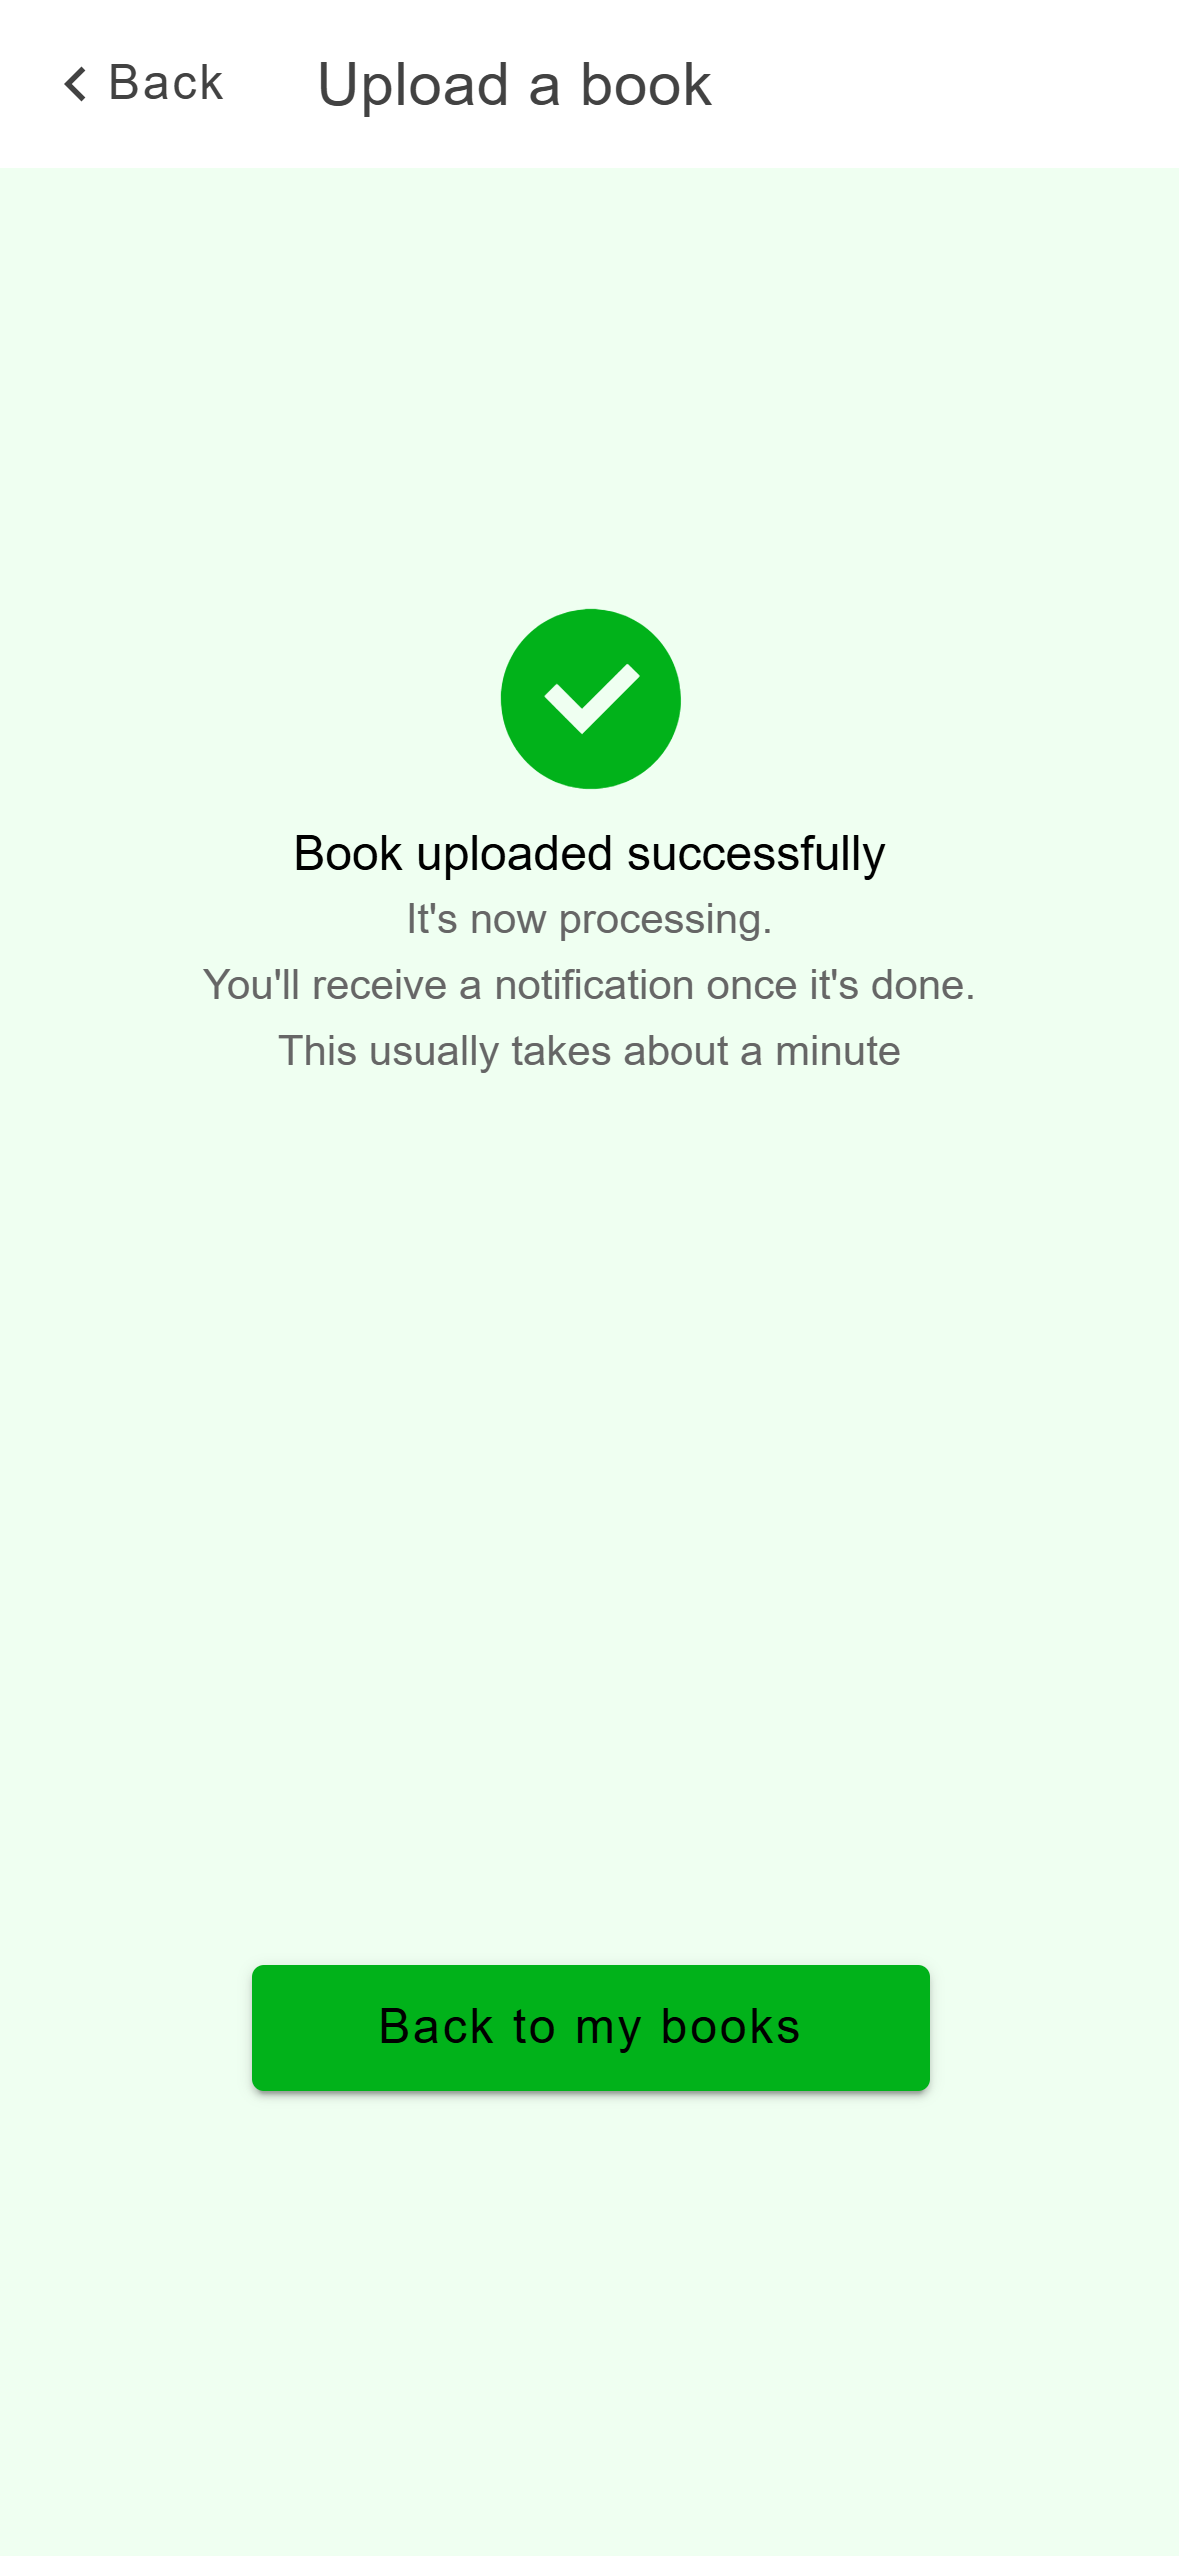
- Back to my books returns to the list.
Mobile: The upload has reached Acadeva. The book is now being read.
Click Upload a book at the bottom of the left rail. You can also open Library, then the Uploads tab, and click Upload a book there.
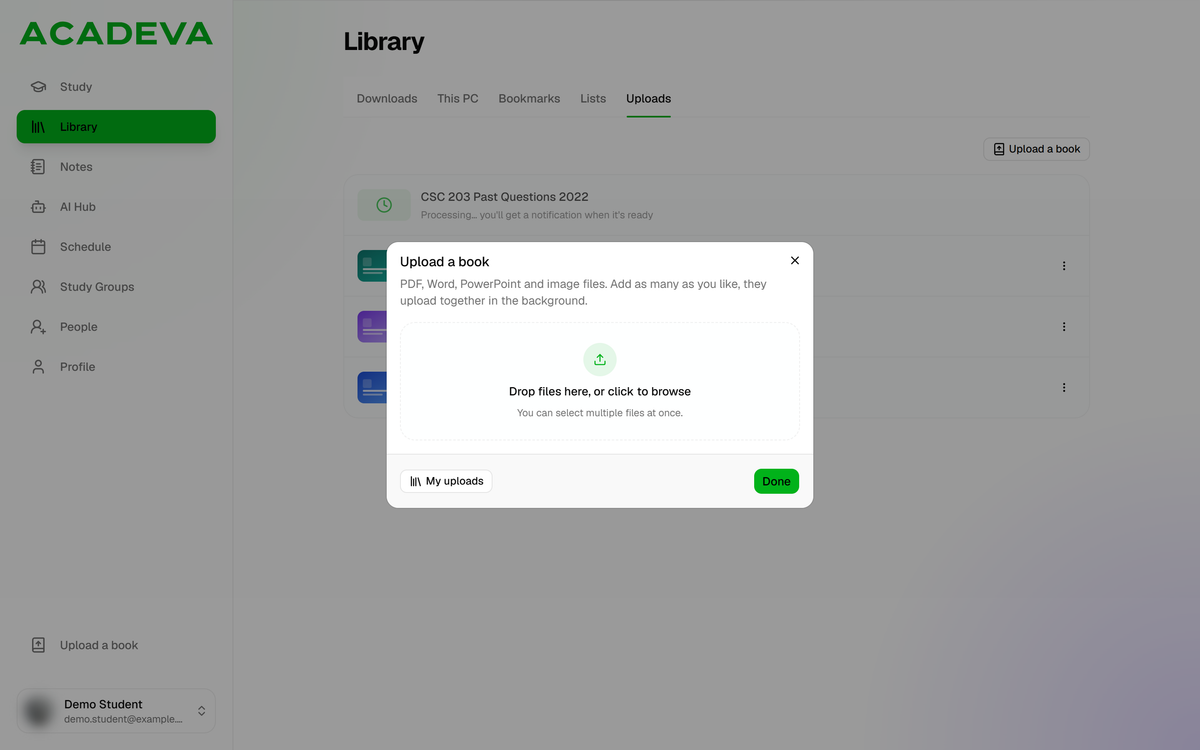
- Upload a book in the left rail opens the dialog.
- Drop files here, or click to browse.
Desktop: The Upload a book dialog. Drag your PDFs onto the dialog, or click the drop area to browse. You can add several files at once.
Watch the list. Each file gets its own row: Checking for duplicates…, then Uploading… with a percentage, then Uploaded. Reading it now, about a minute. Up to three files upload at the same time and the rest wait their turn.
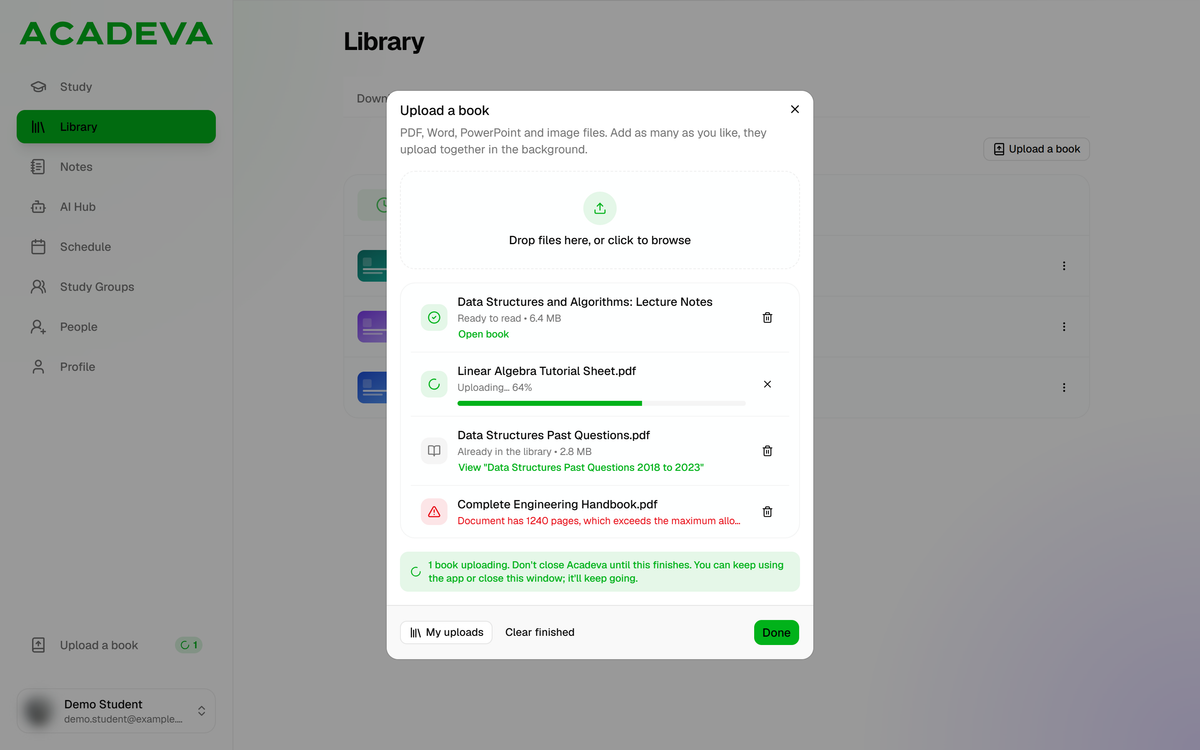
- Open book appears when the book is ready.
- The X cancels a file that is still uploading.
- Already in the library: View opens the copy that exists.
- A file over 1,000 pages is turned down.
Desktop: Each file has its own row and its own status. When a row says Ready to read, click Open book.
You can close the dialog and carry on using the app while files upload. Don’t quit Acadeva until every file has finished uploading. Once a row says Uploaded, Acadeva reads the book on its own, even if you close the app.
After you upload
- You get a Your book is ready notification when Acadeva has finished with the book.
- Find your uploads again on the phone under You, then Upload books. On the desktop, open Library, then Uploads.
- Other students can now find the book by searching for it.
- You earn 40 points for each book that finishes processing.
Change the title
The phone app doesn’t have a working rename for uploaded books. The note at the top of Uploaded books mentions a long-press, but it doesn’t open anything. To rename a book, use the desktop app, which shows the same uploads.
Open Library, then the Uploads tab. Click the three dots at the end of the book’s row (Book actions), then Rename.
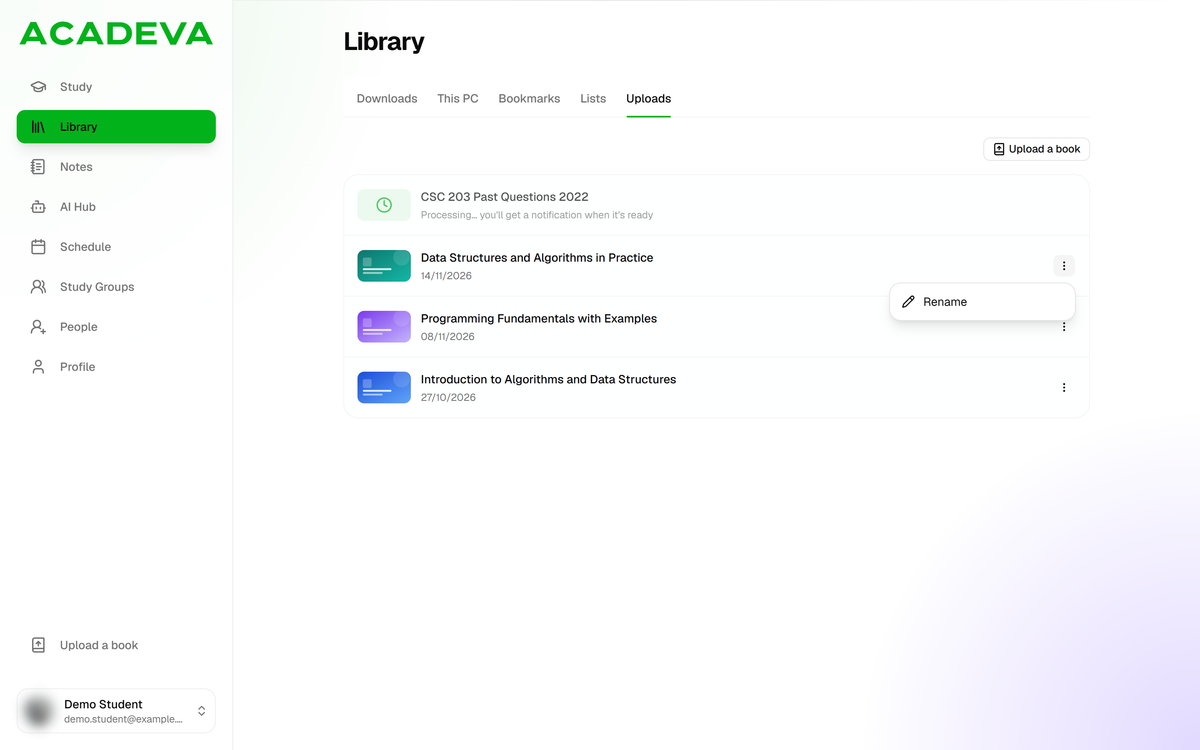
- Book actions: the three dots at the end of the row.
- Rename.
Desktop: Rename is in the menu at the end of the row. Type the new title and click Save. A title can be 2 to 150 characters, and it changes straight away.
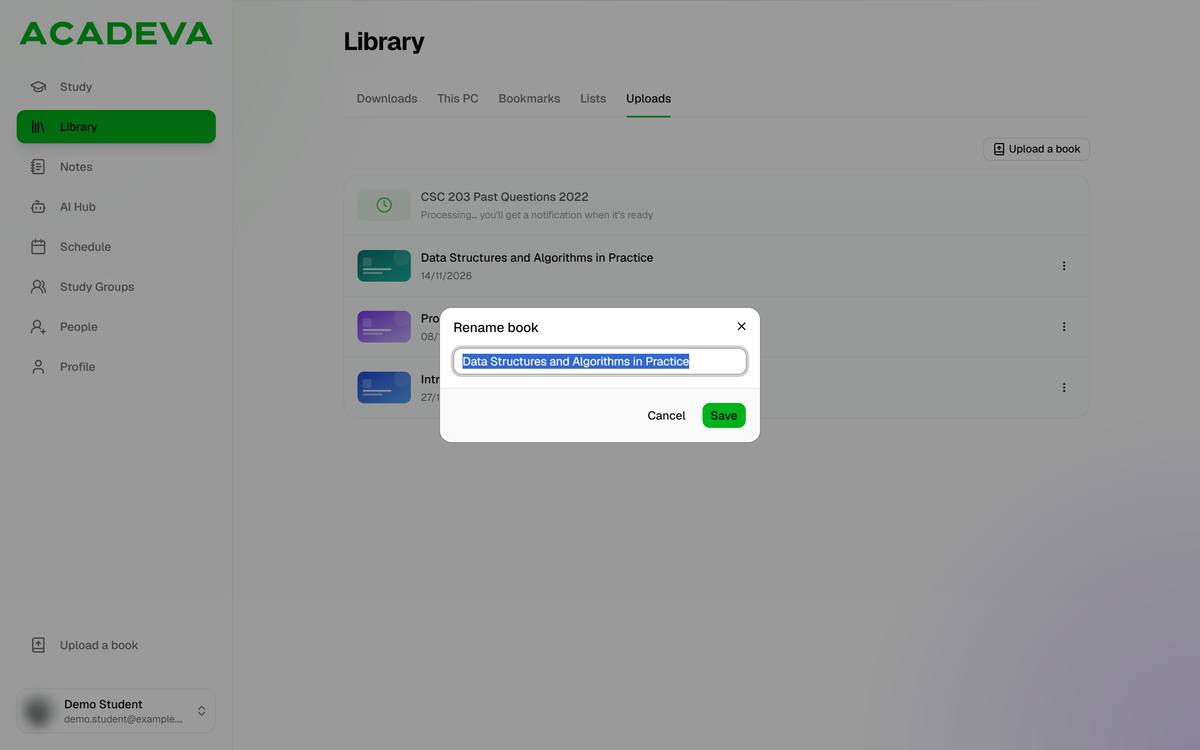
- Type the new title here.
- Save applies it.
Desktop: The Rename book dialog.
Only finished books can be renamed. A row that still says Processing… has no menu yet.
If it doesn’t work
- You can’t pick your file. The phone only offers PDFs. If your notes are in Word or PowerPoint, save or export them as a PDF first.
- Check your internet connection means the upload didn’t reach Acadeva. Get back online, then tap Retry.
- This book already exists means Acadeva already has an identical file. The card under the message shows the copy that’s already there.
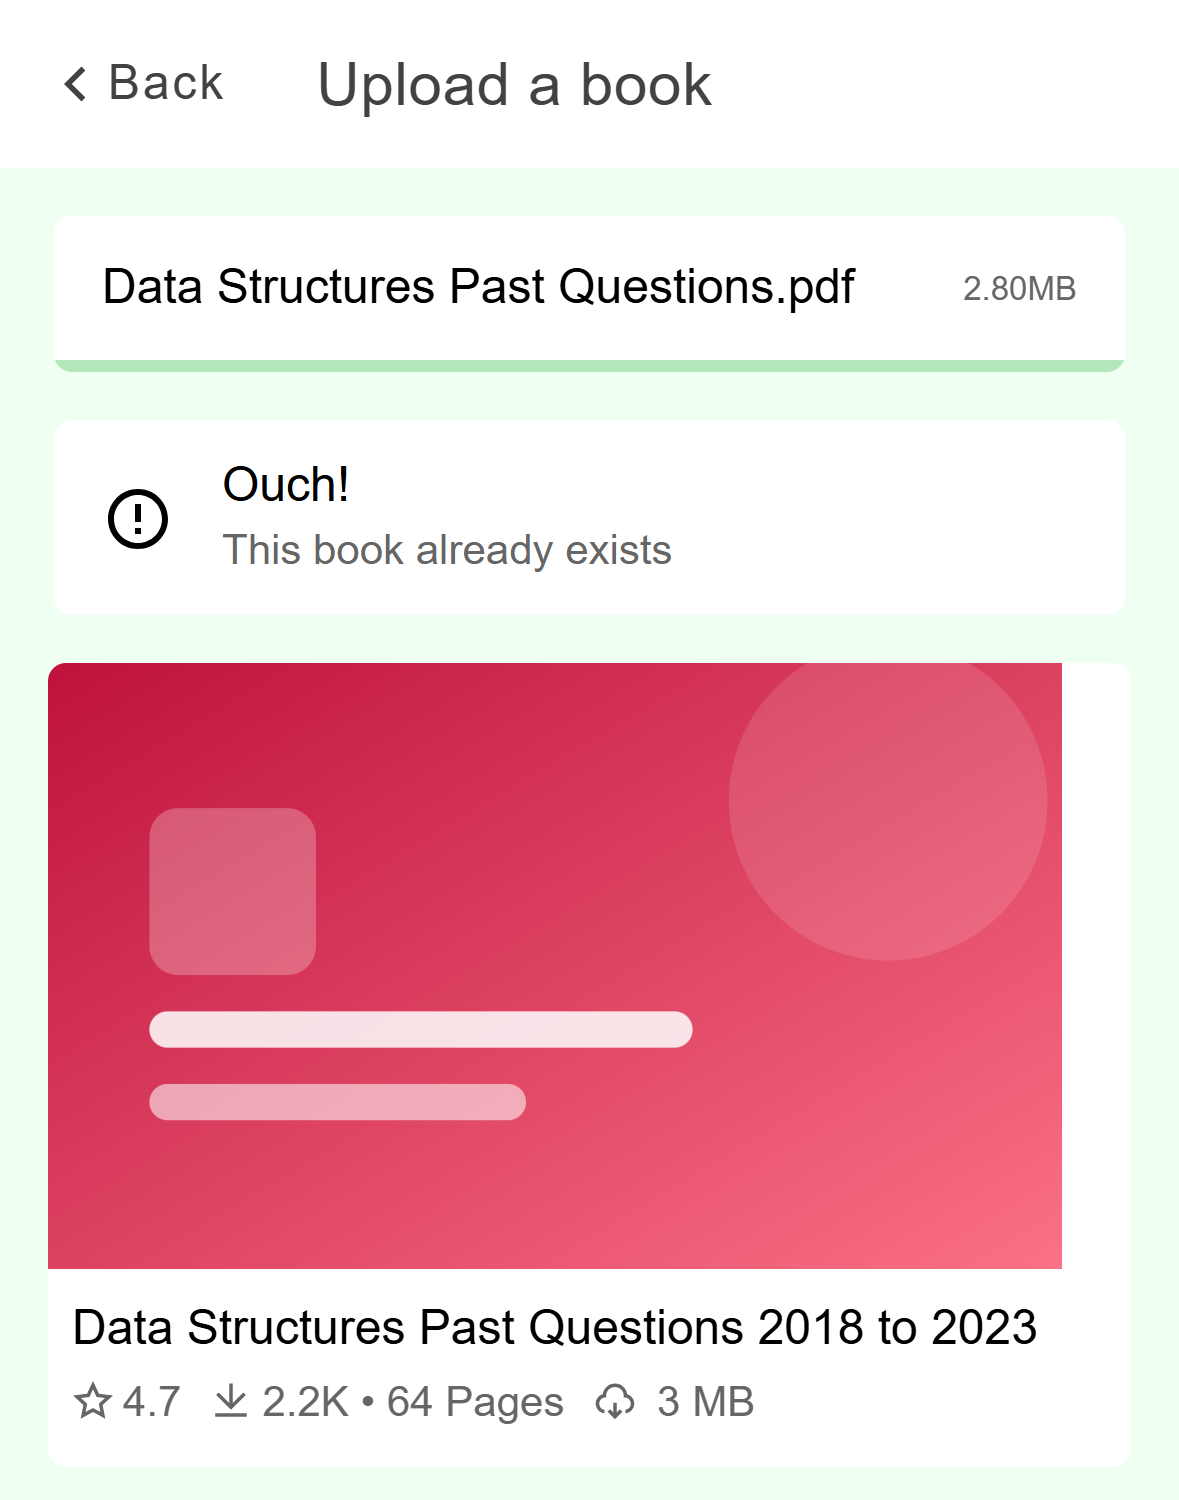
- Acadeva already has this file.
- Error with a message about the number of pages. The limit is 1,000 pages. Split the PDF into smaller parts and upload each one.
- A book stays on Processing… or shows Upload failed. Give it a little longer first. If the row says Upload failed, upload the file again.
- That file type isn’t supported appears when you add something the dialog doesn’t accept. It takes PDF, Word, PowerPoint and image files only.
- A Word, PowerPoint or image file fails with a red message such as Upload failed (400). Export it as a PDF and add the PDF instead.
- Already in the library means Acadeva already has an identical file. Click the View link under the row to open that book.
- A row with a message about the number of pages. The limit is 1,000 pages. Split the PDF into smaller parts and upload each one.
- A red row that says No internet connection or The upload timed out. Check your connection, then click Retry on the row.
- Processing failed on the server means Acadeva took the file but couldn’t read it. Click Retry to send it again.
- Taking longer than usual. Check My uploads later. Acadeva hasn’t reported back. Click My uploads in the dialog to see whether the book has finished.